Force Recon Marine Raj takes us through a quick review of an often overlooked weapon system, the M-203. Every infantry squad on the planet has at least a couple of these and most SOF units have access to them too. I would always push to have at least one M-203 around at all times. The 40mm rounds just bring a lot to the fight. My favorite use is covering the dead space that you just can’t reach with the sniper rifles ( like around the corners of concrete buildings in the Najaf). Raj makes it fun, and you can tell he really does love this weapon. He actually prefers to run a iron-sight M-203 while teaching CQB skills, just to show that don’t need all the fancy optics to be fast & accurate in the house. It comes down to mastery of the basics and muscle memory. Most operators that have a couple deployments under their belts all have a “favorite” M-203 story… We’d love to hear them. Please post them in the comments section below, and let’s share some “lessons learned”, both good & bad.
Phil talks us through how to properly use a shorty breaching shotgun to breach a push-door. There are different schools of thought about barrel placement and orientation. T1G teaches 45 degrees in (into the door frame) and 45 degrees down (to prevent the locking mechanism from flying across the room and injuring non-combatants within the room). Other schools teach different techniques. The key is to have positive entry in the safest manner possible. If your SOF unit is currently using different techniques; please leave a comment, as I would love to discuss your current TTPs. I’m a big believer in always keeping an open mind and discussing/learning new techniques.
We have all seen those Tasty videos that show you how to cook something. We thought it was about time for a gun version, we call it BLASTY. The Blasty series will show you how to take apart and put back together (disassemble and assemble) your favorite weapons. This weeks blaster is the SIG 226.
We have all seen those Tasty videos that show you how to cook something. We thought it was about time for a gun version, we call it BLASTY. The Blasty series will show you how to take apart and put back together (disassemble and assemble) your favorite weapons. This weeks blaster is the Remington 1911.
There are many elements to surviving in potentially deadly or hazardous situations. For this video we worked with Randy “Rawhide” Wurst, from Wurst Case scenario survival school. Randy is one of four guys who wrote the classified survival manual for SOCOM.
Part 5 covers your belt. On your personal belt you will need a small blade working knife and a tool like the Leatherman. You should find a small pouch like a Swiss Army Knife belt pouch and put inside of it some basic survival equipment you may need.
If you use a Pistol belt: A leather or synthetic belt material is your choice. A larger more detailed and equipped survival pouch is next. A large knife, 9 inches to 14 inches long. Next, should be a pistol of your choice, I choose a Ruger single action 10 22 caliber revolver. Water containers or canteens can be put on the belt, energy food bars, and honey too.
In all of these videos one of the important concepts I want to convey is layering of your survival gear. I will break it down to the layers according to “Randy’s world.” A short explanation is needed here. Primitive skills are great and one needs to know them and get proficient with those skill sets; but just having said that, we live in the 21st century, and if you can’t see the value of 21st tool/ equipment you should be using, you should be eliminated from the gene pool. “Just Saying”.
There are many elements to surviving in potentially deadly or hazardous situations. For this video we worked with Randy “Rawhide” Wurst, from Wurst Case scenario survival school. Randy is one of four guys who wrote the classified survival manual for SOCOM.
Part 6: Your personal body/ belt/ clothing: On my neck I always have a (NaNo light) with a small Swiss Army Knife on a chain. I now have on me in any situation a light source and a small knife with useful tools built in the knife.
In my pockets I have a toothbrush, reading glasses, leather gloves, & a Bic lighter. You must keep your teeth & gums stimulated and clean of plaque. If your old like me you need to see close up for detail work. Leather gloves protect my hands, if you damage your hands you can lose up to 50% of your capabilities. A Bic lighter, so I always have a device to light a fire with one hand. If I have a jacket on I have a white or red signaling light attached to an outside pocket. If I can’t yell or call out, or move I can use the small signal light to attract attention to my position.
Personal clothing: I wear what is appropriate for the season and weather conditions. I always wear rip-stop cargo pants, or shorts, and I always wear long sleeve shirts. I can always roll up a long sleeve shirt, but I can’t roll down a short sleeve shirt. If the weather is hot and if I’ll be in and out of water I wear light weight Danner lace boots, but almost every other time I wear Gortex Danner or Rocky boots. If you damage your feet you can’t walk very well. I will always have a hat on for the weather conditions I will encounter, and I will always wear a belt.
Whenever possible I will always carry a walking stick. I will have in a shirt or jacket pocket an energy bar or powder. I always have gum too!
For these videos we worked with Randy “Rawhide” Wurst, from Wurst Case scenario. I will break it down to the layers according to “Randy’s world.” A short explanation is needed here. Primitive skills are great and one needs to know them and get proficient with those skill sets; but just having said that, we live in the 21st century, and if you can’t see the value of 21st tool/ equipment you should be using, you should be eliminated from the gene pool. “Just Saying”.
There are many elements to surviving in potentially deadly or hazardous situations. For this video we worked with Randy “Rawhide” Wurst, from Wurst Case scenario survival school. Randy is one of four guys who wrote the classified survival manual for SOCOM.
Part 4 covers your Jack or Vest: This layer gives you more pockets to carry more medical and survival gear, to include food and water, without carrying a rucksack. You will need a game pouch sewn on the back to enable you to store bigger items to keep your hands free. Tru-Spec’s makes a good vest, but they do not have a game pouch sewn on the back, this you will have to get done at a sewing shop.
In all of these videos one of the important concepts I want to convey is layering of your survival gear. I will break it down to the layers according to “Randy’s world.” A short explanation is needed here. Primitive skills are great and one needs to know them and get proficient with those skill sets; but just having said that, we live in the 21st century, and if you can’t see the value of 21st tool/ equipment you should be using, you should be eliminated from the gene pool. “Just Saying” .
There are many elements to surviving in potentially deadly or hazardous situations. For this video we worked with Randy “Rawhide” Wurst, from Wurst Case scenario survival school. Randy is one of four guys who wrote the classified survival manual for SOCOM.
Part 3 covers your Rucksack or Backpack: This is your final layer for a person without using a dog, horse or your vehicle to carry more substantial equipment. The rucksack will vary in size according to your needs at the time, example day trip, hunting, or hiking in to camp. More detailed medical gear can now be carried, rope & assorted mountain climbing equipment. Extra clothing, fishing poles, rifles, bows, extra food and water just to name a few items.
In the next videos one of the important concepts I want to convey is layering of your survival gear. I will break it down to the layers according to “Randy’s world.” A short explanation is needed here. Primitive skills are great and one needs to know them and get proficient with those skill sets; but just having said that, we live in the 21st century, and if you can’t see the value of 21st tool/ equipment you should be using, you should be eliminated from the gene pool. “Just Saying”
There are many elements to surviving in potentially deadly or hazardous situations. For this video we worked with Randy “Rawhide” Wurst, from Wurst Case scenario survival school. Randy is one of four guys who wrote the classified survival manual for SOCOM.
Part 2 covers your truck bed storage / toolboxes. They are the new Pack horses: Gives you more room for more elaborate and heavier gear. Tents, collapsible wood stoves, full size axes and saws, a lot of food.
In all these videos one of the important concepts I want to convey is layering of your survival gear. I will break it down to the layers according to “Randy’s world.” A short explanation is needed here. Primitive skills are great and one needs to know them and get proficient with those skill sets; but just having said that, we live in the 21st century, and if you can’t see the value of 21st tool/ equipment you should be using, you should be eliminated from the gene pool. “Just Saying”.
We have all seen those Tasty videos that show you how to cook something. We thought it was about time for a gun version, we call it BLASTY. The Blasty series will show you how to take apart and put back together (disassemble and assemble) your favorite weapons. This weeks blaster the AK-47.
There are many elements to surviving in potentially deadly or hazardous situations.
In these next videos one of the important concepts I want to convey is layering of your survival gear. For this video we worked with Randy “Rawhide” Wurst, from Wurst Case scenario survival school. Randy is one of four guys who wrote the classified survival manual for SOCOM. I will break it down to the layers according to “Randy’s world.” A short explanation is needed here. Primitive skills are great and one needs to know them and get proficient with those skill sets; but just having said that, we live in the 21st century, and if you can’t see the value of 21st tool/ equipment you should be using, you should be eliminated from the gene pool. “Just Saying”
Part 1 Vehicles: Here is where survival and emergency gear come together. Your vehicle is the modern day horse, and you can load a lot more equipment in a vehicle then a pack horse. You will find 90% of all your emergencies involve transportation while in a vehicle. In the videos I go into more detail. I’ve purposely not put in writing and in the video’s detailed information or explanations, that will be done when you attend the “Wurst Case Scenario Survival School”.
In this drill, Chad combines a strike/shoot on the first target, makes space and then point shoots the second target, and then acquires his sights and engages the third adversary. This is just one of many drills that Chad includes in these blocks of instruction. You should see his improvised weapons instruction… wow.
We have all seen those Tasty videos that show you how to cook something. We thought it was about time for a gun version, we call it BLASTY. The Blasty series will show you how to take apart and put back together (disassemble and assemble) your favorite weapons. This weeks blaster the Beretta M9.
This week’s video is by Rob French, showing how to shoot around a vehicle. Rob French is a Weapons & Tactics Instructor at Tier-1 Group, down in Memphis. Besides being a world class training facility, T1G has some of the greatest instructors that I have ever worked with. All are combat vets, and all are subject matter experts in their area of expertise. Contrary to what you see in the movies, you don’t want to shoot while your vehicle is moving; you’re just wasting ammo. Fight with your vehicle. Save that ammo for when your vehicle dies. However, once the vehicle has stopped, there are still things to consider when shooting around a vehicle. Armor, egress, angles, wounded, and so forth all come to mind right off the bat. Rob goes into some of the techniques that T1G teaches it’s students. These are battle-proven techniques; not just some “3-gun competition guy” talking about barrel off-set. Take them to heart. Learn them. Knowledge is your best weapon. TR.
We have all seen those Tasty videos that show you how to cook something. We thought it was about time for a gun version, we call it BLASTY. The Blasty series will show you how to take apart and put back together (disassemble and assemble) your favorite weapons. This weeks blaster the GLOCK 17.
Here’s another video on one of my personal favorites… the Barrett M-107 .50cal Sniper Rifle. Now, this isn’t the old M-107 that I used back in the box, before I retired. This is the new M-107A1. Lighter, stronger, and just plain better.
This puppy is 5 pounds lighter. They managed much of that by cutting the barrel length down. I normally wouldn’t go for shortening the barrel on a long-gun, but the M-107A1 still has the knock-down punch, accuracy, and range that the old M-82 had. How? Magic? Nope. Let’s just say that the engineers at Barrett have really mastered this cartridge and weapon design.
Now, the Tripod… Why a tripod? Well, first ask what is a tripod for. The military has used tripods for decades to improve accuracy and control of their medium and heavy machine guns. Accuracy: a tripod handles recoil better than just the bipod. Control: a tripod was designed to have limiting factors of traverse and elevation that would allow commanders (or gunners) to lock weapons to fire with restrictions. These restrictions would include setting it to “final protective fire”,” where a gunner could swing the gun to the limit (set during the day) and lay down a wall of lead that would mow enemy down that tried to cross that marked line. In addition, in support of raids, the tripod (using a T&E) could limit gunners from swinging the guns into friendly troops. On occasions, like infantry basic training, the tripods would also limit depression of the machine guns, allowing us grunts to low-crawl under the wall of lead. These tripods were heavy and bulky; which led to their seldom use by modern SOF forces, who are already carrying too much weight. That said, the need for a tripod still exists. So, the call went out to MSG, to solve the problem. This is the company that cracked the code on making us all the sexy HUMMER parts, brackets, and mounts that every SOF unit needed, but couldn’t agree on. They built the machine gun swing-arms that we were rocking on our HUMMERs in Iraq and now, today, the latest generations of their mounts are even better.
When I was first shown the MSG Tripod, I wasn’t impressed; mainly because I hate tripods, having humped an M-60 machinegun back a hundred years ago (dating myself again). However, once I got the specifics and got my hands on it, this puppy is awesome! It weighs nothing. You can get lower than you can with just the bipod (which puts my head lower in a gun fight, behind cover). It works with not just the Barrett, but also the M-249SAW and the M-240 Medium Machinegun. I like that you can do micro-adjustments to elevation with the large wheel at the base. Once released from the gun, it folds very small. This is great for parachuting, but also for just general humping around on the battlefield. I still remember having to hump the Tripod for the M-60 through the swamps in Ranger School; what a boat anchor. Once you lock your weapon in the MSG Tripod, whether a M-240 or Barrett, it is a much more stable than just using the organic bipod, so accuracy will improve.
I teach all my students that one of the first steps, in planning to be prepared, is assessment of your mission or situation. What are you trying to prepare for? In many cases, you’re just planning to get home. Now, that situation will change (think environment or climate) from different times of the year or different areas where you may travel. In turn, the gear that you should carry will also change. However, certain essentials stay the same (we’ll cover them in another video). One of those essentials, is the need for illumination.
At a minimum, a rugged flashlight is needed. A good headlamp is another fine option, as it allows hands-free use. Both these items, for me personally, can be found in every layer of my gear and are found in all my vehicles (who doesn’t need a flashlight?).
Now, I’m not big on the phrase “Bug Out Bag.” I prefer to think of it more as a “Get Home Bag” or a “What If” bag. No matter what you call it, it should be constantly tailored to the mission at hand. I like to use the stuff in the bag, replacing/updating as needed. This keeps items from expiring, and keeps the knowledge of their use fresh in my head. Remember, knowledge is a great weapon/tool.
I’m a big fan of Night Vision Devices (NVDs). There’s a reason why our SOF forces own the night. Our warfighters not only have the best generations of NVDs that money can buy, but they also train with them constantly. So, it goes without saying, I like to keep good NVDs around.
In my travel bag, you’ll find a monocular NVD, a few batteries, and a small head harness. I like a monocular NVD, for ease of weight/space, and the fact that I don’t lose depth perception or night vision with both eyes. Brands or manufacturers don’t matter to me, though I do tend to lean towards certain companies that I work with. My intent is not to advertise or bad-mouth particular brands. If you really want my input; contact me off-line, and I’ll point you towards a great company that will get you great deals on all NVD types.
I would rather focus on you getting the best NVD that your budget can afford. Buy it, and then train with it. Take it with you… use it… find its limitations. NVDs are fun to play with. Enjoy the fruits of the money you invested. Then, when the time comes, you’ll already be familiar with how to properly employ it. You, too, can own the night.
If you have seen the popular “Tasty” cooking videos, then you’ll recognize the style of this video. Why did we shoot it this way? Well, because the “Tasty” videos are awesome! Even I could cook some of those meals, following those videos. Well, maybe not. That said, we wanted to put together a series of instructional videos for disassembly & reassembly of various weapons, we call them BLASTY! This “tasty” style is easy to follow, direct, and to the point. Enough said. TR.
One of our biggest issues with our current society, is our total lack of basic “survival-skills.” We are so caught up in our smart phones and reality TV, that most people can’t even light a charcoal grill without lighter fluid. You can buy all the sexy gear you want; however, if you don’t know how to use it, you are screwed. Knowledge is power and knowledge can be your best tool in a survival situation. Being stuck, lost in a blizzard, is the wrong time to be trying to learn how to use your new store-bought Firestarter. Get out there, now, and practice those “survival skills” before you really need them.
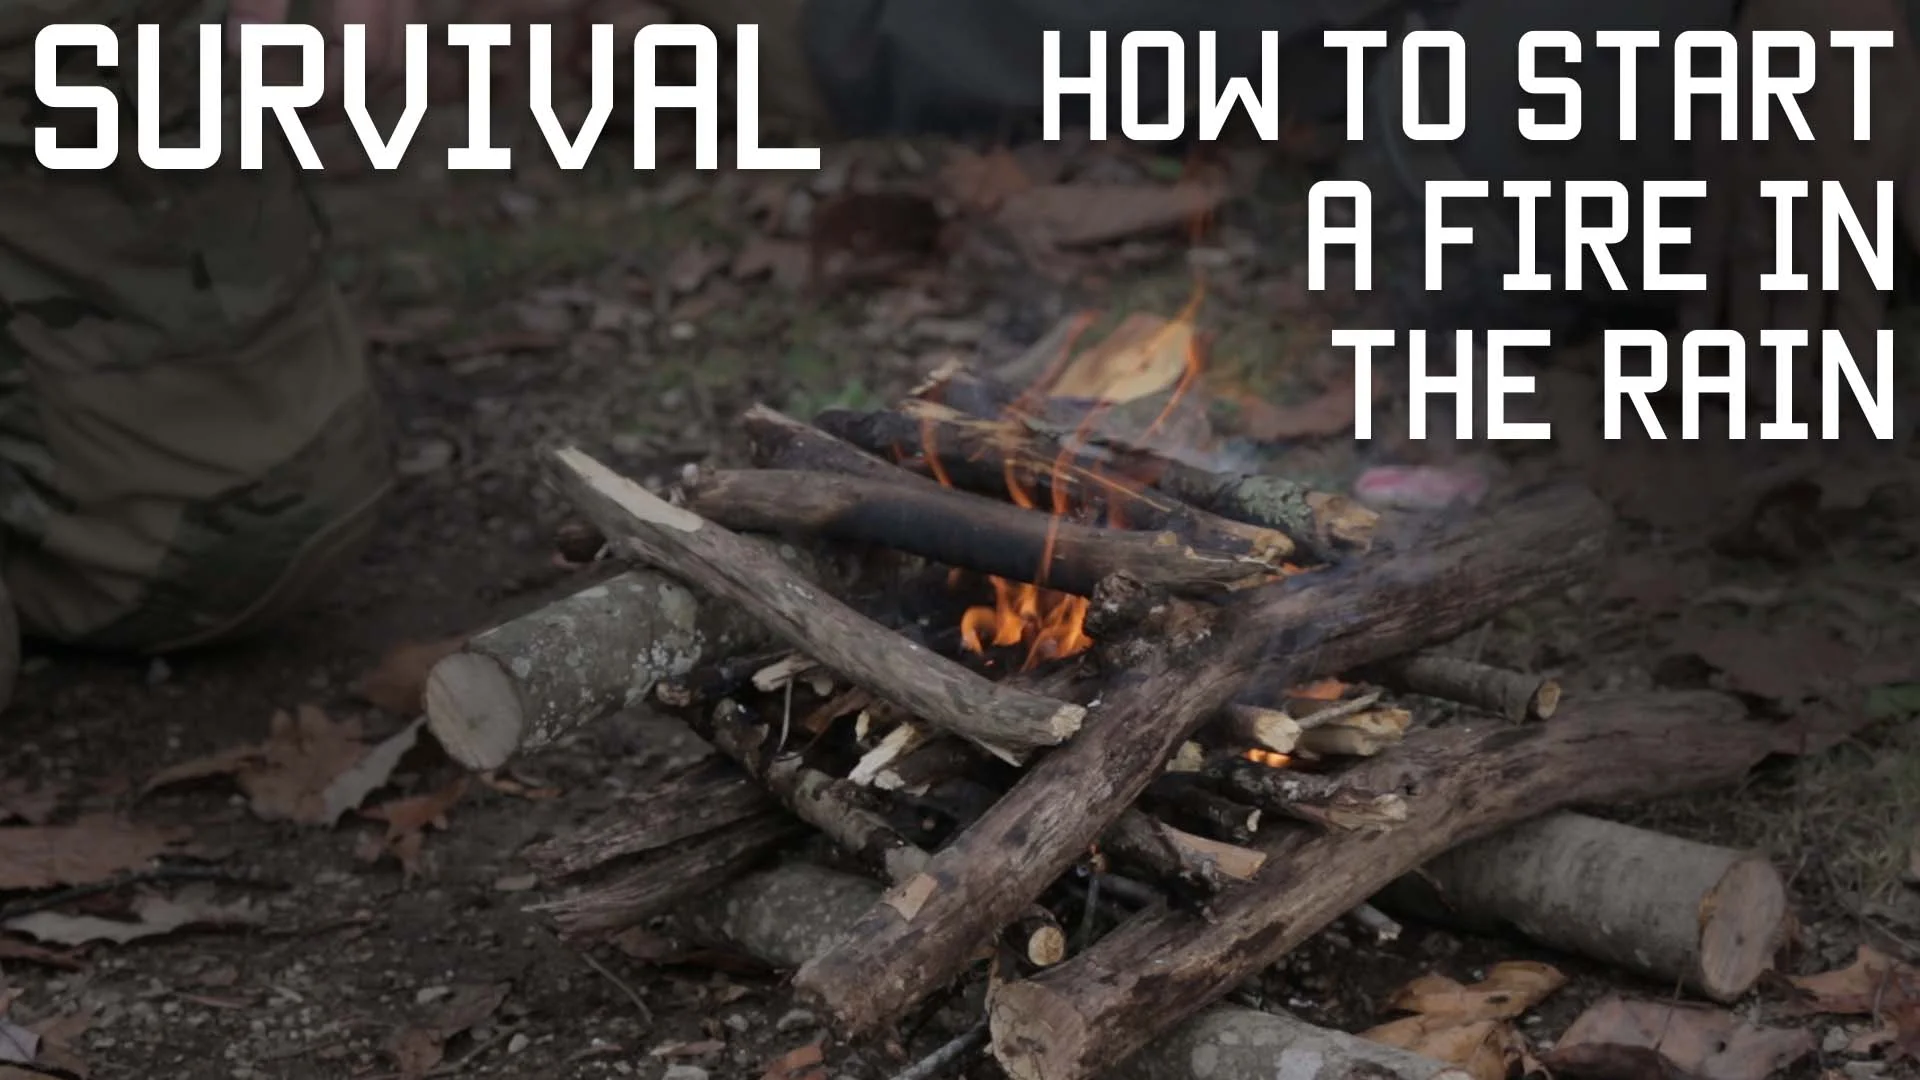
While food, water, shelter are all high on the list; for me, personally, I think fire is one of the most important skills anyone can learn. Yes, there are hundreds of ways to light a fire. No, just having a match isn’t going to cut it.
So, keeping with the Tactical Rifleman concept of always using Subject Matter Experts, I decided to reach out to Randal “Rawhide” Wurst, to do our first fire video. Randy is an old retired Green Beret buddy of mine, and a great American. Not only does he teach his own survival school (Wurst-case Scenario Survival https://sites.google.com/site/rockcastlelive/training ), but Randy literally helped write the SF Survival Manual back when he was an instructor at the Bragg school house.
Randy’s logic is that you should never be caught without certain tools. Even “Ötzi the Iceman” (the frozen caveman found in Germany) was found with tools, including flint and tinder. He preaches that you should always have at least three ways to do everything. The old adage “two is one, and one is none” is taken to the extreme in Randy’s world. We shot another set of videos, showing Randy’s layers of survival gear. (When you watch them, count how many knives Randy carries!!!)
We use a candle in this video. Watching how easy it worked, will convert you to toss a candle or two in your kit. I know I’ve started carrying the little Tea Candles(I add two extra wicks). Randy likes his to be in a sealable tin, like a Altoids can, to protect the wick. Either way, the main thing is to ensure your candle has a base to catch all the melted wax, so you can keep reusing the same candle.
Again, knowledge is power. Just you being on this website puts you light-years ahead of all the “Xbox360 generals” out there. Now, take the next step and get outside. Try different techniques. If you already have mad “survival Skills,” it wouldn’t hurt to brush off the dust. If you don’t, you’ll at least identify areas where you are weak and need training. You don’t know what you don’t know.
If you are really serious about mastering these skills, you need to get out there and attend some professional training. Remember, when the shimmer hits the fan, your family is going to look up to you to save the day. Either you are ready or you are not.
Where to train? We offer a “Modern Survival” course at Tier-1 Group. We’ll cover everything to get you back home safe with your family. Courses are custom-tailored to your individual needs. Now, if you want to train with the “Best”; I’ll point you directly to Randal “Rawhide” Wurst. Just shoot me a comment below, and I’ll get you in contact with him. I assure you, that when he gets done with you, that you’ll be ready for that “Wurst-case” scenario.