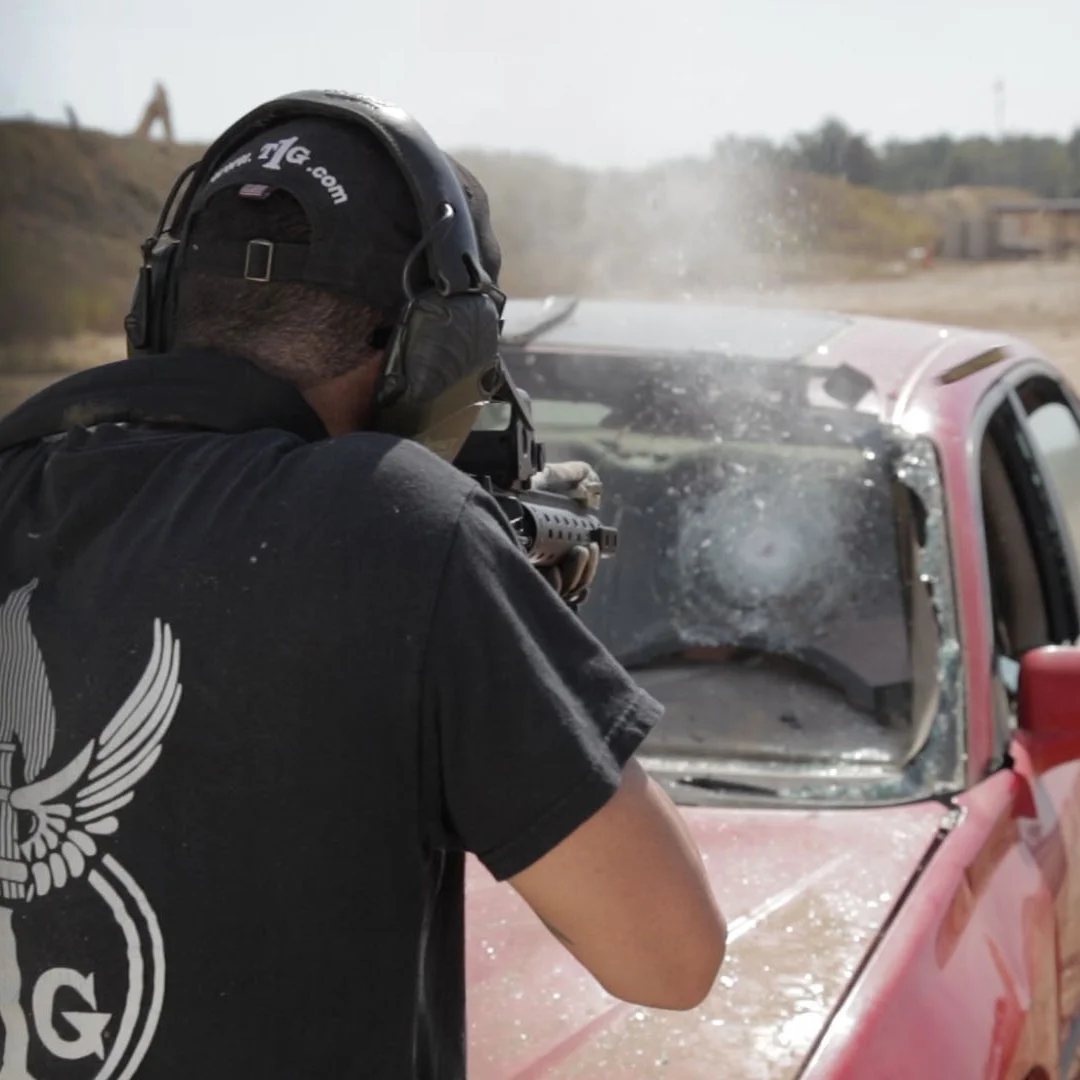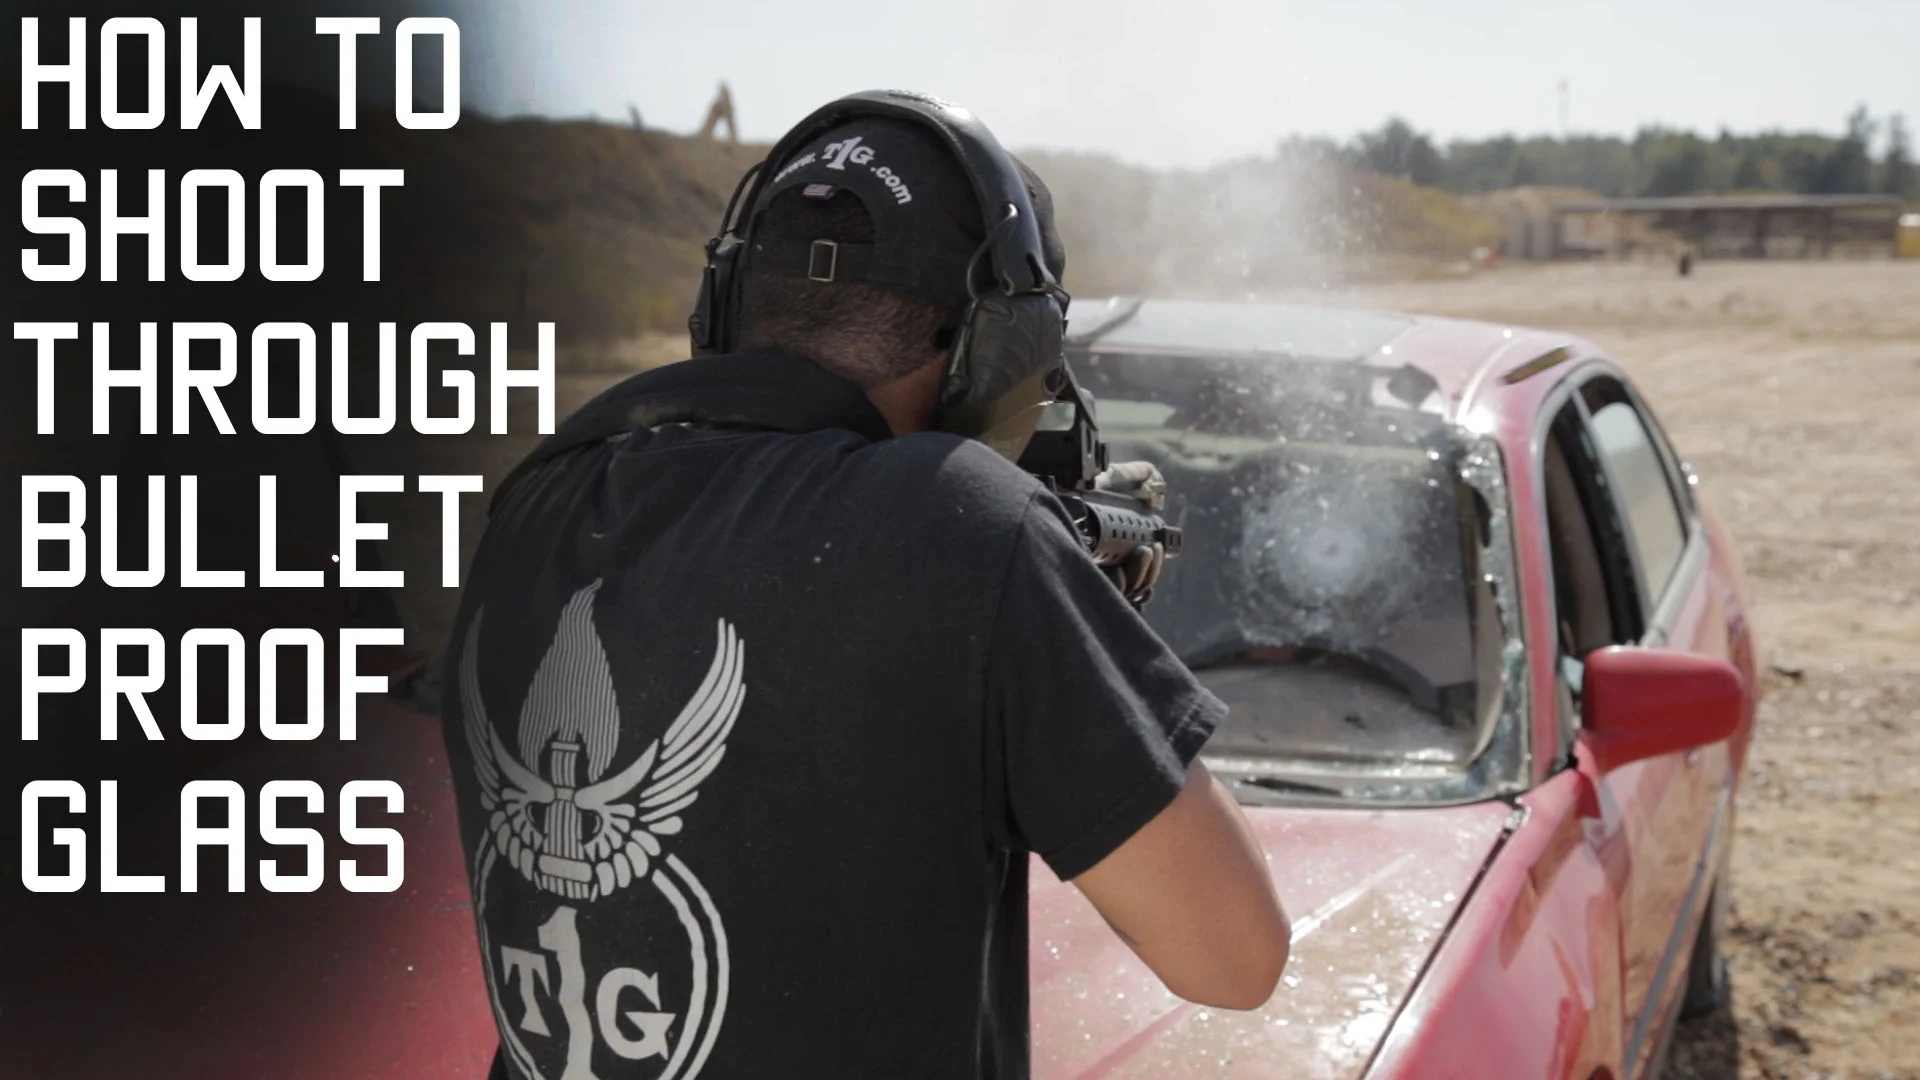
In this video Rob shows us what happens when shooting through different types of vehicle glass. He starts with the side Safety Glass and the laminated Windshield. He then wraps up the video with a thick piece of “Bulletproof” Glass.
Now, it’s called “Bulletproof” glass, but most brands are really just multiple layers standard safety glass that are laminated together. In this case, Rob was shooting at a window composed of 8 separate layers of safety glass laminated into a very heavy windscreen that could easily stop bullets from a 7.62mm machinegun. It was taken out of an actual Up-Armored Truck (brand intentionally not mentioned, so don’t ask). These windows save lives every day overseas.
That said, is it really bulletproof? Short answer, no. Long answer, sort of. Bulletproof glass is designed to stop fragmentation and multiple hits of small arms fire, to allow the driver to maneuver the vehicle off the “X” and escape to a safer location. Most will not stop .50 cal rounds. Also, there are many different types of projectiles built for snipers that are specifically designed for barrier penetration. Some work better than others.
So, how was Rob able to penetrate the “Bulletproof” glass with 5.56mm ammo through a AR rifle?
Penetrating any medium is about energy and shot placement. Rob’s 5.56mm ammo (even using Green-Tip) did not have enough energy to penetrate all 8 layers of the glass. That said, he did get through several layers of the laminate. So, by focusing his shots in one location, he was able to slowly destroy layer after layer of the laminated glass. He finally penetrated on his 4th shot.
On a vehicle driving 60 miles per hour through the ambush site, it would be very hard for a shooter to focus his shots in so tight of a shot group. Hence, the armor has served its purpose and the driver lives to drive another day.
How do we apply this? If your unit is required to conduct a “Vehicle Interdiction” against a foe in an up-armored vehicle, understand that you will need to stop the vehicle first. This can be done in a dozen different ways (and will be covered another time). Pin the vehicle in, so the driver can’t just back out of your kill box. Then, walk up and center your point of aim low-center on the driver. Why low-center? That way, no matter which way he leans or squirms, he cannot get out of your point of aim. Hammer the same spot on the window with multiple rapid shots. You can even place your muzzle right up against the glass (Eye Pro & Gloves of course). Once you are through, keep shooting, work that muzzle around and mix metal & meat together.
Help support Tactical Rifleman by purchasing one of our T-shirts, check them out at: https://shop.spreadshirt.com/Tacticalrifleman/
For more go to http://www.tacticalrifleman.com/ and Follow me on Twitter-http://bit.ly/TACrman
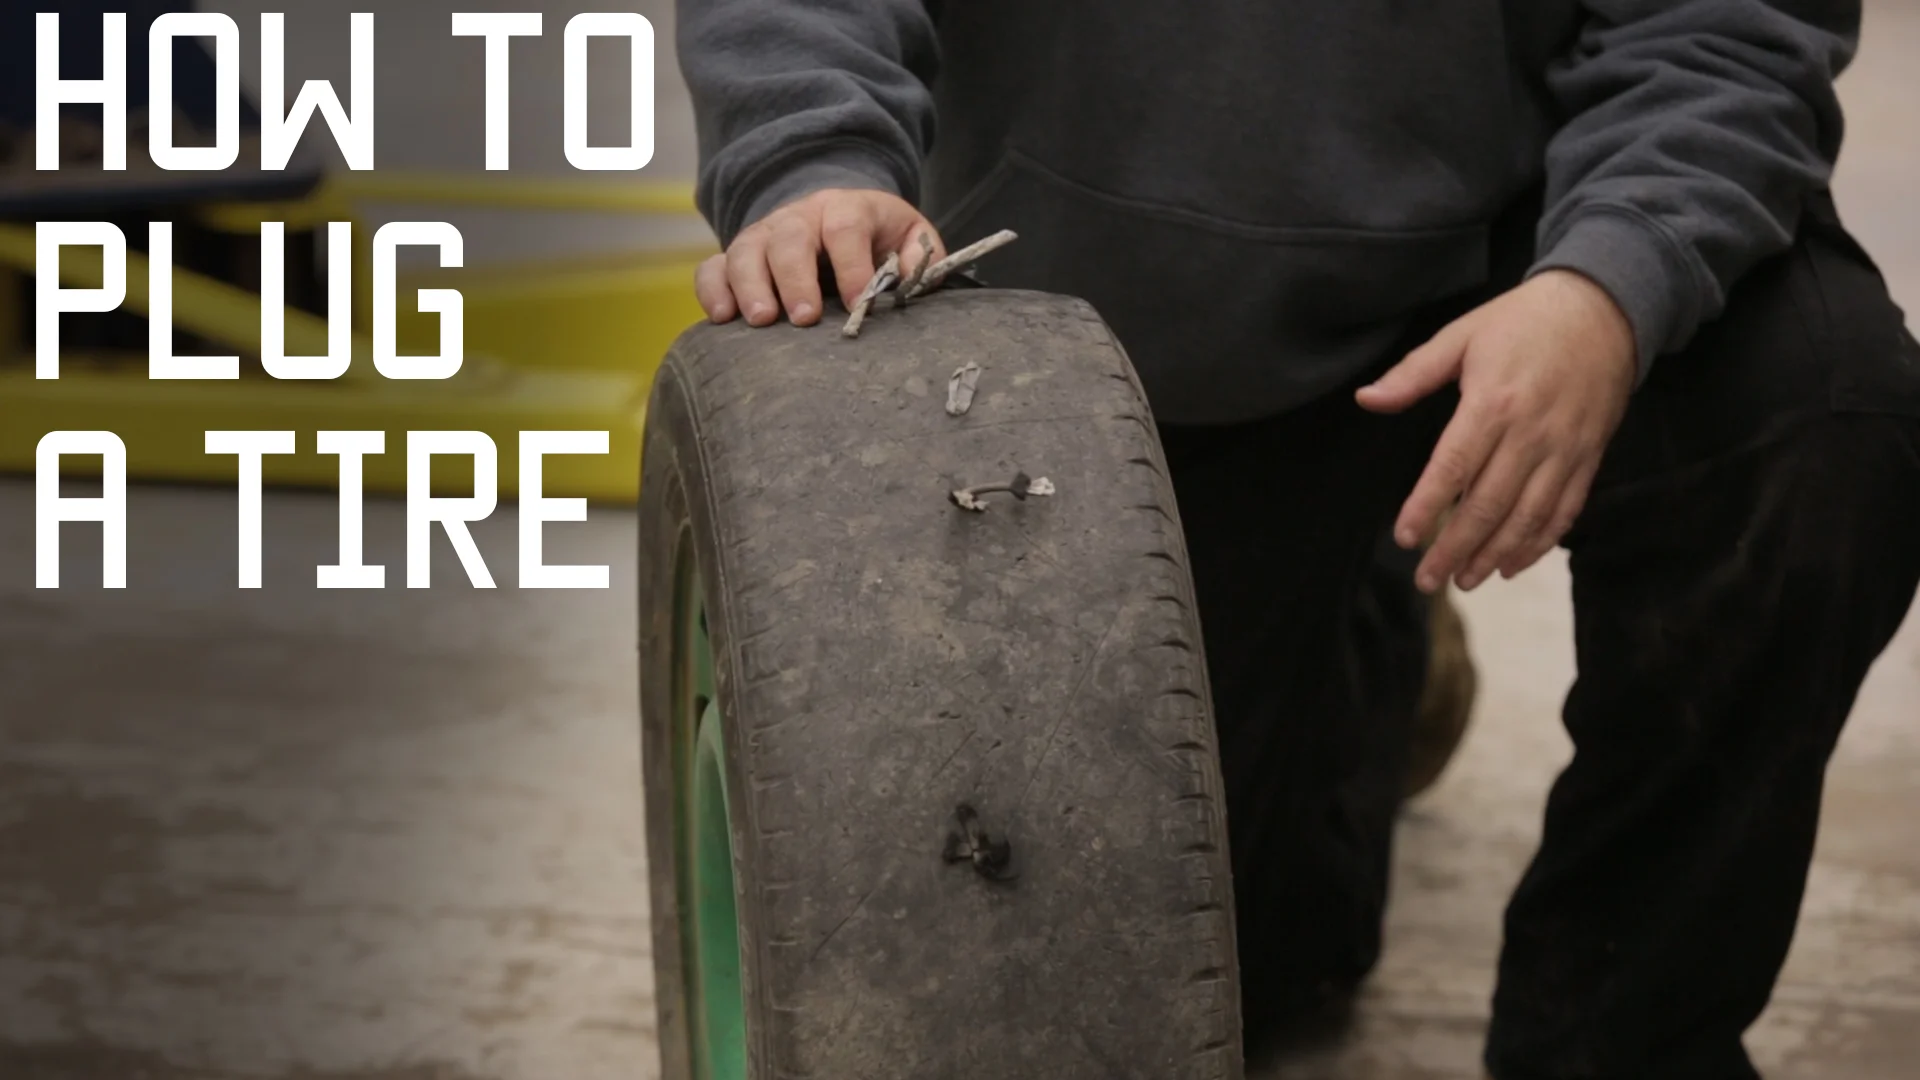
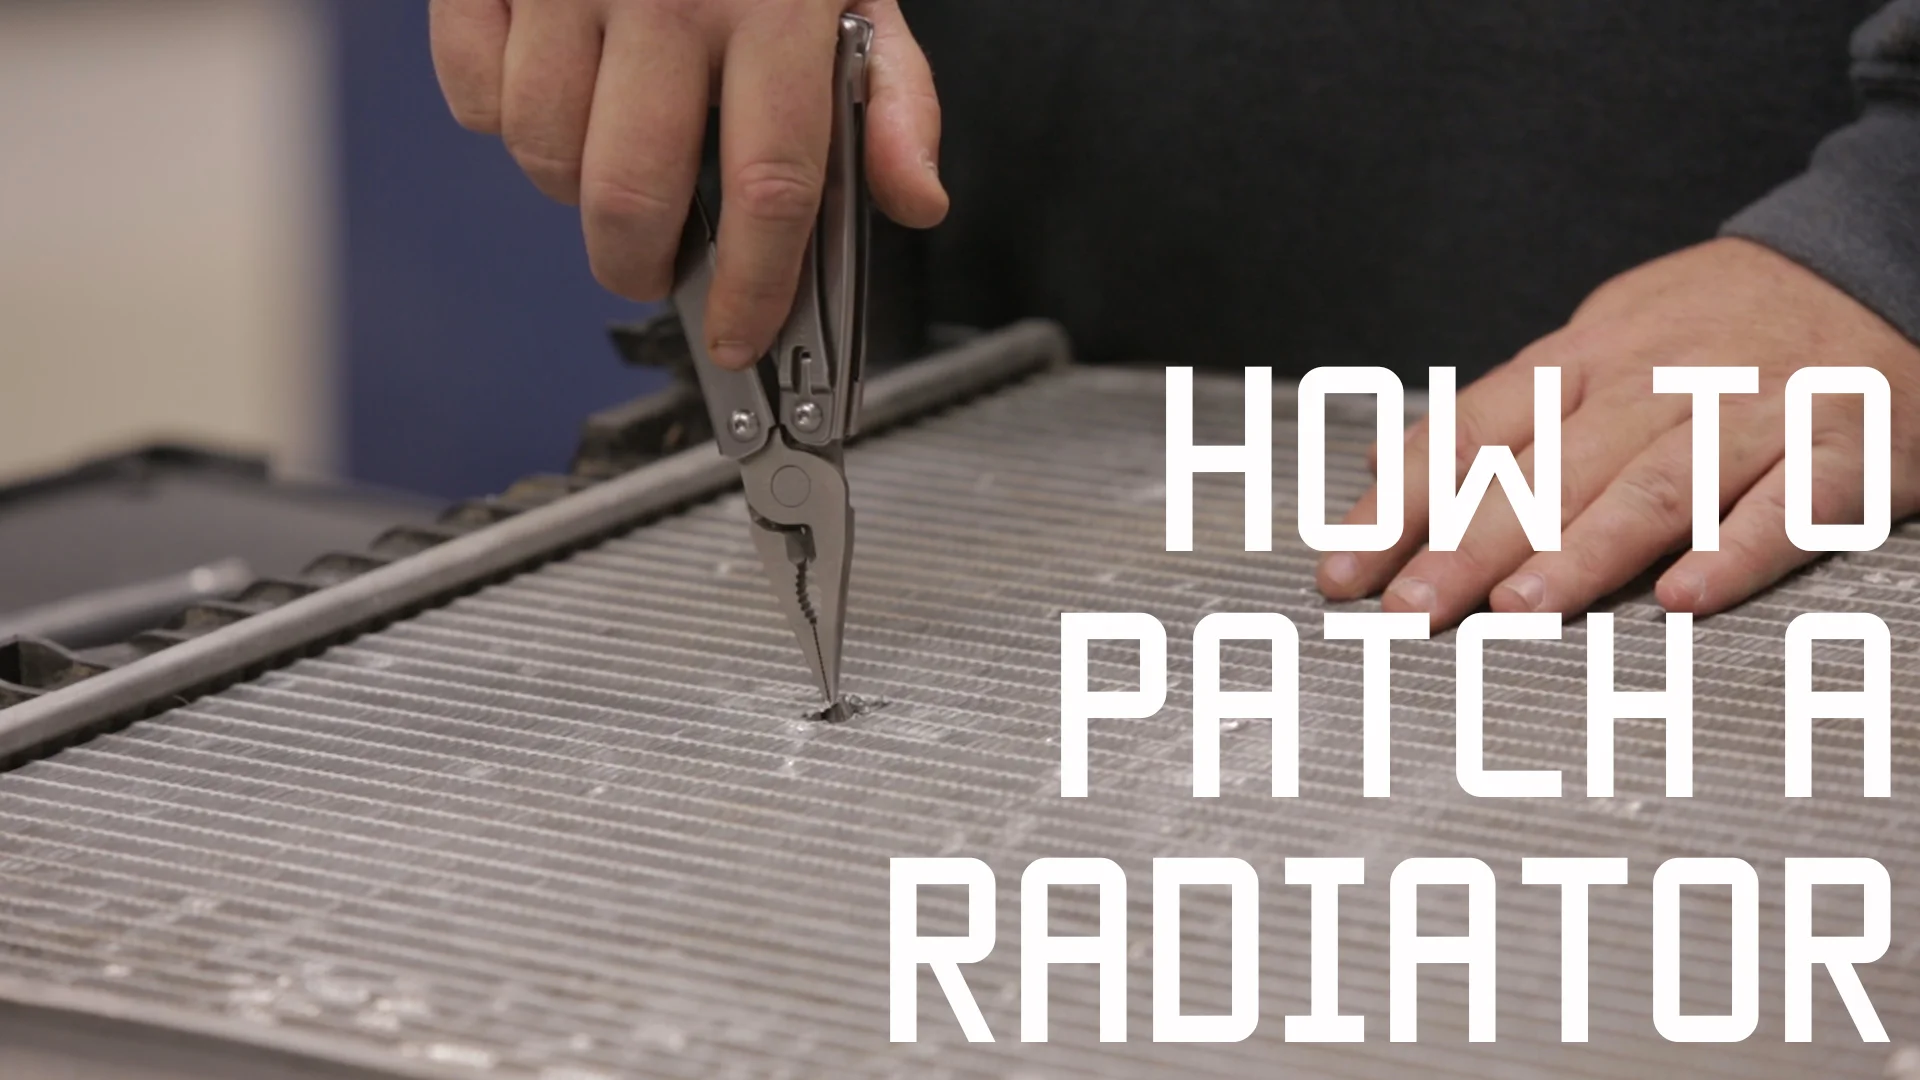
Tier-1 Group has one of the greatest driving programs on the planet. Besides just teaching High-Speed Vehicle Dynamics, T1G also covers some really great field vehicle repairs. If you saw our video on repairing bullet holes in a radiator, you’ll recall Chad is very direct and to the point. You’ll find the same here, where Chad takes us through plugging a tire in the field, both with and without a plug kit.
First, what is a Plug Kit, and why would I need to know how to use one? Picture walking out to your truck and seeing it has a flat. Upon closer inspection, you see that you ran over a simple nail or screw. Easy fix, just put on the spare tire and take the flat to a local tire shop. The mechanic rolls the tire around the corner, and comes back 5 minutes later, with your tire magically fixed, and he holds out his hand for that $20 bill you owe him. How did he fix it? He pulled that nail out with pliers and used a Plug Kit to stick in a 25 cent plug.
Plug Kits can be bought at any auto parts store on the planet (buy a good one), and knowing how to use one is a “Man Skill” that should to taught to every kid in high school.
Now, fast forward to the real world and you may find yourself in need of a repair with no mechanic. You don’t have to be an SOF Operator in the middle of a covert op in some foreign desert; you might just be out in the mountains hunting or just enjoying the great outdoors. Whatever your situation, having the knowledge to plug a tire in the field may just be the mental tool that saves the day (or at least your afternoon).
Plugging a Tire requires:
Inserting a Plug through the eye of the Split Needle Tool
Removing the nail or screw
Smoothing out the hole with the Reamer (provided in most Kits)
Inserting the Plug with the Split Needle Tool (Provided in Kit)
Quickly withdrawing the Split Needle, while leaving the Plug in the tire (no glue required)
inflating the tire, with air compressor, to your desired tire pressure
Yes, it is really that easy.
How about if you run out of Tire Plugs? How about if you don’t have a plug kit?
Enter Chad, with his fury tire. I say “fury”, because he has several tires in his shop with 50+ different plugs in them, and they still hold air. In this video, Chad is going to show you a variety of different materials that can be used to plug a tire in the field. He’ll show you what works better than other materials. Medical Gloves, for example, work great if done right. Now, you understand why 550 cord wont work, right?... because the air would just go right through the porous material? Wrong... 550 cord makes a great tire plug; you just have to grease it up (to seal the material) with grease you can rob from the side of your engine block. We’ve done hundreds of tires like this.
Don’t have a Plug Kit? You can use a screwdriver and a Leatherman. However, it’s a lot harder than using a real plug kit, but it can be done.
You can buy a plug kit and air compressor in just about any country on the planet. Add it to the list of other supplies that you purchase right after you pick up your rental car. Toss it in the trunk, and you’ll probably never need it.
So, watch the video three or four times, then go out and practice in the back yard? Nope. Some of this skills seem really easy, but it’s also really easy to screw it up. Drop the coin, and sign up for one of Chad’s courses. Besides just this “Man Skill,” he also covers dozens of other really cool expedient field repairs. Chad will properly demonstrate the task, and then have every student do each task. Try finding that at other driving courses. Knowledge is power; learn from the Best. Strength and Honor, Tactical Rifleman.
Whether you are talking to a new recruit or a old Nam vet, they will all recall the Rifle Qualification Course. While i can’t attest to the other branches of service, the US Army has always relied on the 300 meter standard Rifle Qualification. This test required a Soldier to first shoot a 20rd magazine, from a concrete “foxhole,” at targets ranging from 25 meters to 300 meters. The Soldier then had to climb out of the foxhole, assume a unsupported prone firing position (laying on the ground), and again engage various targets from 25m to 300m, with a second 20rd mag. If I recall correctly, I think 34/40 was expert. If I shot below 38, I wanted to kill myself (very easy test for a young trooper with good eyes).
These tests were all done with iron sights. They were good for gauging how good our Soldiers would be shooting at targets in an open defence. However, as the global war on terror was shaping up, we began to see more and more urban combat. So, what about training, and testing, at CQB distances?
Here we are, now 15 years later, still playing the same political games. There are quite a few different Carbine Tests out there. Some are good. Some, well, not so much.
In this video Rob takes us through what we call the “Mar Qual.” It is a standardized test, that T1G uses to gauge the shooting abilities of different operators (and whole units), prior to allowing them to go “Hot” into the live-fire shoot houses. It takes shooters through Standing/Kneeling/Prone, speed reloads, shooting on the move, and limited exposure shots (snaps). Rob has a little fun talking through how to properly score these targets. There are actually two different versions (male and female), but both have the same scoring areas. To run this test, each shooter will need 50rds of rifle (there is a pistol version also) and three paper targets. You’re wanting at least 80 points to pass this test.
Stages (so you don’t have to keep rewatching the video)
From 50m; 2rds Standing, 2rds Kneeling, 2rds Prone; against 1st paper target
From 50m, run to 25m, then 2rds standing and 2rds Kneeling
From 25m, 1rd snap to the face in 2 seconds
From 25m moving to the 15m; shooting while moving 2rds to chest
From 15m, 2rds hammered pair to chest in 2 seconds
From 15m moving to 10m, shooting while moving, failure drill
From 10m moving to 5m, shooting while moving, failure drill
Walk back to 7m; from 7m moving to 3m; shooting while moving, failure drill
Set up 2 new clean targets
From 50m; 2rds Standing on 1st target, speed reload, 2rds Kneeling on 2nd target
From 25m moving to 15m; shooting while moving, 2rds each target
From 15m; 2rds hammered pair on each target
From 15m moving to 10m, shooting while moving, 2rds each target
From 10m; 2rds hammered pair on each target
From 10m moving to 3m; shooting while moving, Box Drill
So, if you are looking for a new drill to add to your training plan, or you are just wanting to test your skill level against America’s finest, give this Carbine Qualification a try. It’s a great training tool.
Now, that said, do I think it should replace the Army’s standard 300 meter qual? No, I do not. Unfortunately, we are seeing our modern generation of warfighters becoming overly dependant on optic sights and only practicing at CQB distances. What good is having a rifle capable of precision shots at 400 meters, if our Soldiers are only proficient out to 25 meters? Don’t just train for your last battle; train for what might possibly be your next. That means mastering both CQB distances and open long distances. So, conquer them both.
This is the part where you push away from the computer. Go slap in a fresh mag, and try out this qual on your local rifle range. Then, come back and let us know how you did.
Sid takes us through a great introduction of the famous AK-47 Assault Rifle. He talks through it's history, uses and functionality. Everyone seems to love to at least shoot it a few times. If you haven’t tried an AK47, come down to T1G and we’ll let you try one of our full-auto versions (ours are all full-auto). Sid, and the other Weapons & Tactics instructors down at T1G, teach a lot of classes involving the AK-47. He knows what he is talking about. If you have any questions about the AK-47, you can comment below or reach out to Sid directly at T1G.com
In our first water purification video, I tried to cover all the different techniques for purifying water. We covered everything from Boiling to UV Light. However, when I got to chemical treatment, there were just so many different types on the market that I couldn’t hit them all in that one video. So, for this video, we are focusing just on chemical treatment. There are actually lots of options out there. The old Iodine tablets have been improved. There’s the Chor-Flox that the military is now issuing. Then, there are the multiple different ways to employ Chlorine. I cover the pros and cons of each. Which way is best? Nope, don’t go there. Ask “Which way is best for me?” I say that, because everyone has different situations and preferences. Taste alone, may steer certain people in certain directions.
I talked fast in the video, and didn’t cover it very well. So, I wanted to talk a little more about the proper use of Calcium Hypochlorite or “Pool Shock”, as it is a great way to treat large amounts of water for your home (think Hurricane Katrina). While I don’t think it is great for backpacking; it is the best method I have found for long-term treatment and a large scale. A lot of people plan on using household bleach, if they are ever faced with a long-term situation (again, think Katrina). The problem with bleach, is it only has a 6 month shelf life, and is just nasty to work with. You can store Pool Shock damn near indefinitely, and it takes much less space. That said, you still need to store it away from your food or other gear (it gives off a slight gas), and it takes a bit of mixing to get the proper concentration for treatment. However, if you are willing to do it properly, you’ll see this is a great technique to keep in your mental toolbox. Here are some notes:
Using granular Calcium Hypochlorite to disinfect water is a two-step process
Note: Mix only in a Plastic or Glass container, NOT METAL!!
Step-1: Make a stock of liquid chlorine solution
· dissolve 1 heaping teaspoon of Calcium hypochlorite in two(2) gallons of water
Step-2: Disinfect Water
· Add one part of the liquid chlorine solution to 100 parts water to be treated;
· Let sit for 30 minutes before use
Example: Add 6oz of liquid solution to treat 4.75 gallons of Water in a five gallon bucket. (4.75 gallons = 608 oz of water)
A 1-pound bag of 70% calcium hypochlorite in granular form (pool shock) will treat up to 10,000 gallons of drinking water. That’s a lot of water for your family to live off of. Again, this is a great technique to keep in your mental toolbox. Knowledge is power. Knowledge can be your best tool.
So, enjoy the video and let me know which water treatment techniques you prefer or if you have anything that you think I have left out. I’m always looking for new techniques. What’s in your Bag? What’s in your Plan? Share your ideas and opinions. Don’t have an opinion? Maybe you need to get outside and get one. Don’t rely on the internet. You need to get out there. You need to get some real training. Don’t know where? Let me know, and I’ll point you in the right direction. Strength and Honor.
Help support Tactical Rifleman by purchasing one of our T-shirts, check them out at: https://shop.spreadshirt.com/Tacticalrifleman/
Folding Bucket
http://amzn.to/2t3RpDk
Nalgene Water Bottle
http://amzn.to/2rKMBi9
Potable Aqua Water Treatment Tablets
http://amzn.to/2tXrp95
POTABLE AQUA PA+Plus Water Purification
http://amzn.to/2s4mIt1
Aquamira Water Purifier Tablets
http://amzn.to/2t3y4lF
Aquamira - Water Treatment Drops
http://amzn.to/2tXrFoz
Chlor-Floc US Military Water Purification Powder Packets
http://amzn.to/2tXuqGC
Pool Shock
http://amzn.to/2s0moQH